How to print a Shopify payout statement
Updated November 3, 2026
A bookkeeper, a lender or your own files want a document for each payout. Shopify's payout page is built to read on screen. This guide shows the two ways to get a file out of it, how to produce one file per payout for a whole month, and what the document needs to contain.
Shopify does not give you a statement; here is what you get instead
The payout page shows the total and a list of transactions. Two things get you a file from it: your browser's print function, and the transaction export. Neither is a formatted statement. Both work if you know what the document has to show.
Option A: browser Print to PDF
- In Shopify admin open Finances → Payouts.
- Click the payout you want.
- Press Ctrl+P (Windows) or Cmd+P (Mac).
- Choose Save as PDF as the destination.
- Check the preview. A long payout can spill across pages and cut off columns. Set the layout to landscape and switch off headers and footers if the columns are cut.
This gives you a picture of the screen. It is quick, but you cannot sort or add up the file afterwards.
Option B: export the payout transactions CSV
On the same payout page, use the export button to download the transactions as a CSV. The columns you will use most:
- Transaction Date and Payout Date: when the sale happened and when the money was paid out.
- Type: charge, refund, adjustment, reserve and so on.
- Order: the order number the row belongs to.
- Payout ID: the key that groups rows into a payout.
- Amount, Fee, Net: gross, the fee taken and what is left.
A CSV can be sorted and checked. It is the right file for a bookkeeper. Open it in a spreadsheet and add a total at the bottom so the reader can check it against the bank.
One file per payout for a whole month
If you need a document for each payout in March, do not click through them one at a time.
- Export the payout transactions for the whole month in one CSV.
- Open it and sort by Payout ID.
- Copy each payout's rows to its own sheet or its own file, named after the payout date and ID.
- Add a total row to each, and check that it matches the payout total on the payout page.
A pivot table with Payout ID as the row and Type as the columns is a faster way to check totals, though it does not split the file.
What a bookkeeper needs on the statement
- The payout date and payout ID.
- The net amount, the number that matches the bank deposit.
- Fees, as a separate total.
- Refunds and chargebacks, as separate totals.
- Reserve and release lines, so held money is not mistaken for missing money.
- Order numbers for the rows, so any line can be traced to a sale.
If a document lacks any of these, the bookkeeper will ask for the CSV anyway.
Archiving: naming the files so month-end finds them
Pick one pattern and keep to it. A pattern that sorts well:
2026-03-14_payout-123456789_net-459.64.pdf
Date first, so files sort in order. Payout ID next, so you can find the payout in Shopify. Net amount last, so you can match the bank deposit by eye. Keep one folder per month, and a CSV and PDF with the same name stem side by side.
Skip the manual sum
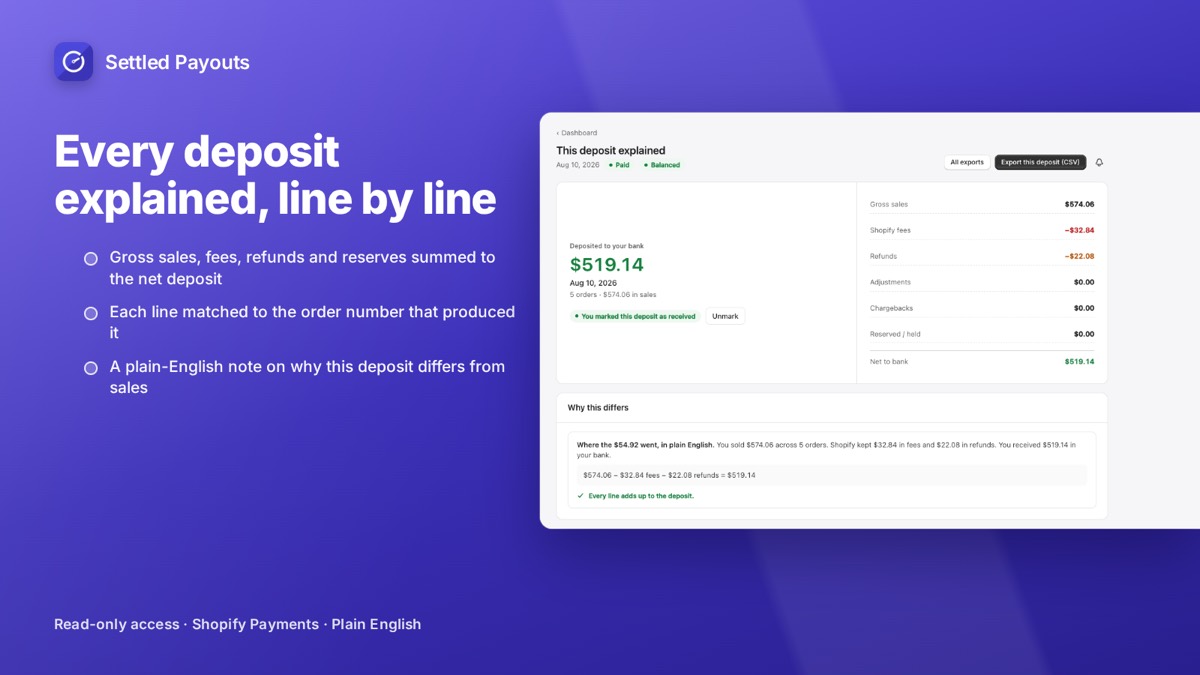
Settled Payouts exports a PDF, XLSX or CSV for a year or any date range you choose. The PDF lists each payout with gross, fees and net; the XLSX and CSV add one row per balance transaction, with refunds and reserves on their own lines.
PDF, XLSX and CSV exports are on Growth ($39/month) and Scale. 14-day free trial, no card required. Plans: Starter $19, Growth $39, Scale $79 per month.
Search Settled Payouts on the App Store